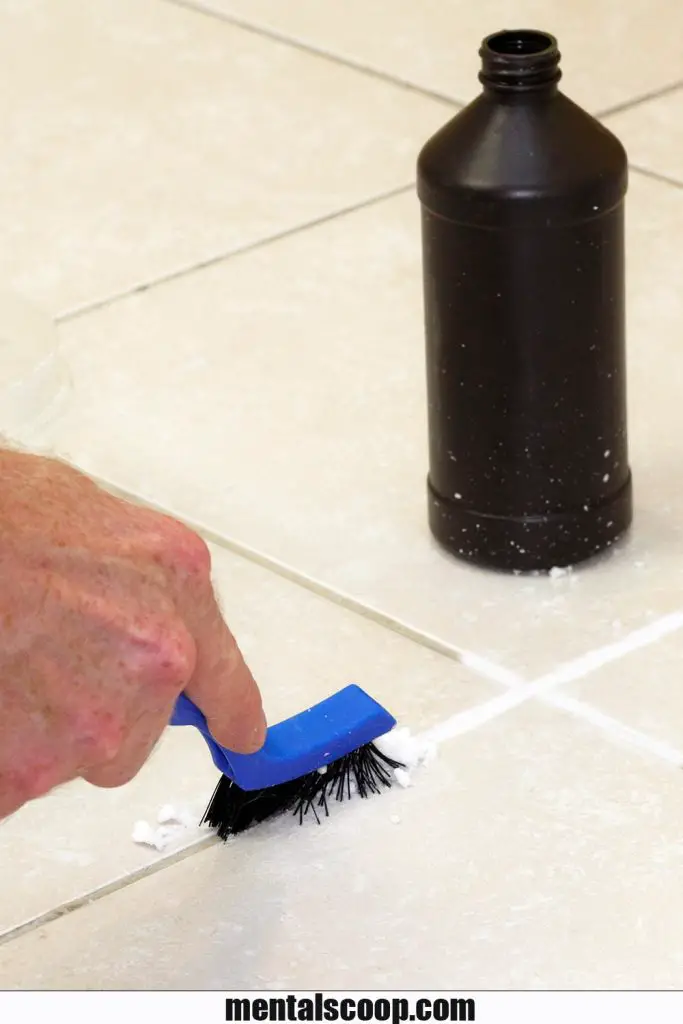
How To Make Your Tile Grout White Again With This DIY Recipe!

Tile grout plays a crucial role in maintaining the aesthetic appeal of your floors and walls. Over time, grout can become stained and discolored, leaving your tiles looking dull and unattractive. While there are numerous commercial grout cleaners available, they often contain harsh chemicals and can be expensive.
Fortunately, there’s a simple and cost-effective solution to restore your tile grout to its original white brilliance. In this article, we will guide you through a DIY recipe that will help you make your tile grout white again.
Understanding the Causes of Grout Discoloration
Before we dive into the DIY recipe, it’s essential to understand the common causes of grout discoloration. Grout stains are typically caused by dirt, grime, spills, and mold or mildew growth.
High-traffic areas, such as kitchens and bathrooms, are more prone to grout discoloration. Regular cleaning and maintenance can prevent severe grout stains, but over time, they may still occur.
The DIY recipe we will discuss is an effective solution for tackling both surface stains and embedded grime.
DIY Recipe: Making Your Tile Grout White Again
Here is a step-by-step guide to making your tile grout white again using simple household ingredients:
Gather the necessary supplies:
- Baking soda
- Hydrogen peroxide
- A small mixing bowl
- A cleaning brush (an old toothbrush works well)
- Warm water
- Spray bottle
- Clean cloth or sponge
Create a paste:
In the mixing bowl, combine baking soda and hydrogen peroxide in a 2:1 ratio. For example, you can mix ½ cup of baking soda with ¼ cup of hydrogen peroxide.
Stir the mixture until it forms a thick paste.
Prepare the grout:
Dampen the grout lines with warm water using a spray bottle or sponge.
This step helps to loosen any surface dirt or debris, allowing the paste to penetrate deeper.
Apply the paste:
Take the cleaning brush and apply the paste to the grout lines.
Use gentle, circular motions to work the paste into the grout.
Focus on small sections at a time to ensure thorough coverage.
Let it sit:
Allow the paste to sit on the grout for about 15-20 minutes.
This dwell time allows the baking soda and hydrogen peroxide to work on the stains and break them down.
Scrub and rinse:
Scrub the grout lines again with the cleaning brush.
Add more warm water if necessary to maintain a paste-like consistency.
Rinse the grout thoroughly with warm water and wipe away any residue using a clean cloth or sponge.
Final touches:
Inspect the grout lines for any remaining stains.
If needed, repeat the process or apply the paste directly to stubborn stains and let it sit for longer.
Preventive Measures for Maintaining White Grout
To ensure that your grout stays white and pristine for longer, it’s important to take preventive measures:
- Regular cleaning:
- Regularly sweep and mop your tile floors to remove dirt and prevent it from settling into the grout lines.
- Wipe up spills immediately to prevent staining.
- Seal your grout:
- Apply a grout sealer once every year or as recommended by the manufacturer.
- Grout sealers provide a protective layer, preventing stains from penetrating the grout.
- Ventilation:
- Proper ventilation in areas prone to moisture, like bathrooms and kitchens, helps prevent mold and mildew growth.
More interesting articles you may be interested in reading:
How To Remove A Tree Stump Painlessly
10 Vital Home Maintenance Tasks You’ll Regret If You Forget
See How Much Propane Is Left In A Tank With No Gauge
Thanks for reading and be sure to share this info with your friends using the social share buttons below.
Talking about social stuff, consider liking our Facebook page to keep up to date with our articles. Check out our other articles for more mental scoops!


